What you’ll learn
Last year, we installed solid oak hardwood floor in our main bedroom and family room. To our dismay, when we ripped up the old carpet, we found that the whole subfloor was covered with particle board. Using a standard nail gun to install the floor was out of the question–particle board isn’t structurally sound enough to “bite” nails.
Removing the particle board was impossible–it was completely glued down to the plywood. We ended up using screws instead of nails, making it bomb-proof at 3x the labor. Here’s a step-by-step how.
The problem: nail length
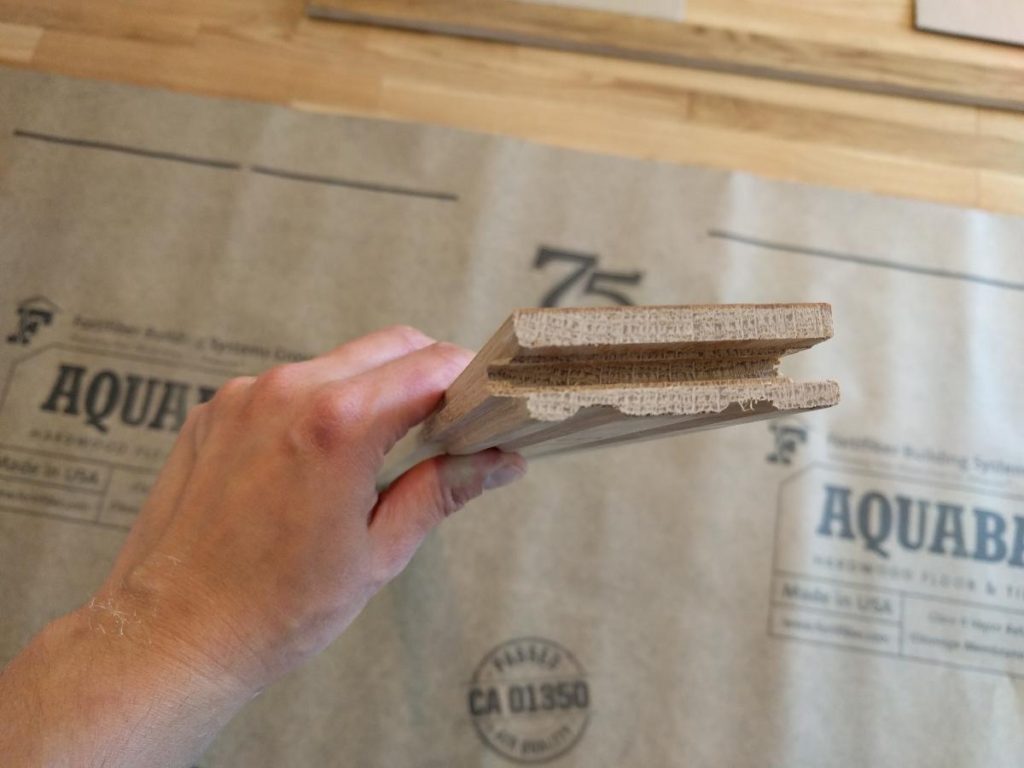
Hardwood floor nowadays is manufactured as tongue-and-groove and quickly installed with a nail gun and standard 1.75″ length nails.
Hardwood floor is 0.75″ thick. If you’re nailing at a 45-degree angle, this would be a total of ~1″ before you get to the plywood (0.75″ x sqrt(2)). Since the nails are 1.75″ long, that’s about 0.75″ of nail to dig into the plywood subfloor, which is great.
If you have both 0.75″ hardwood and 0.5″ particle board before you hit plywood, you have nothing left of the nail to dig into the plywood.
You’re pretty much left up shit’s creek with no good options. You could (a) replace the whole subfloor, (b) have a hard time finding a contractor to take your job, then pay them an exhorbitant amount–we were quoted $15k for labor alone, or (c) suck it up and drill each and every hole instead of using a nail gun.
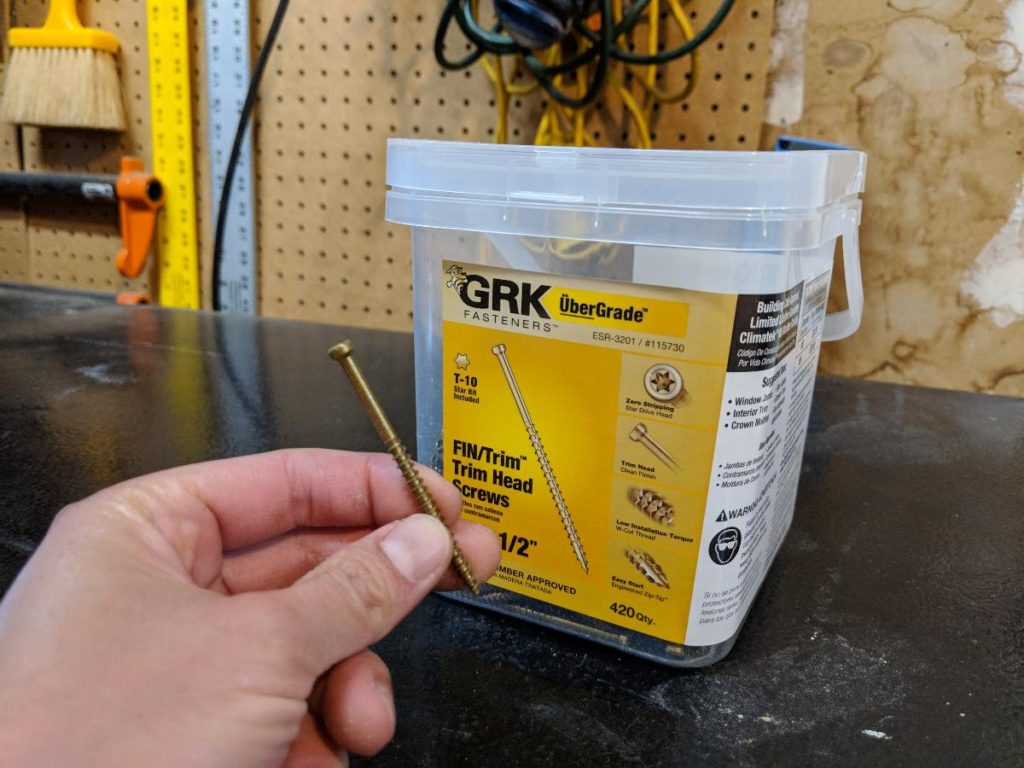
Materials
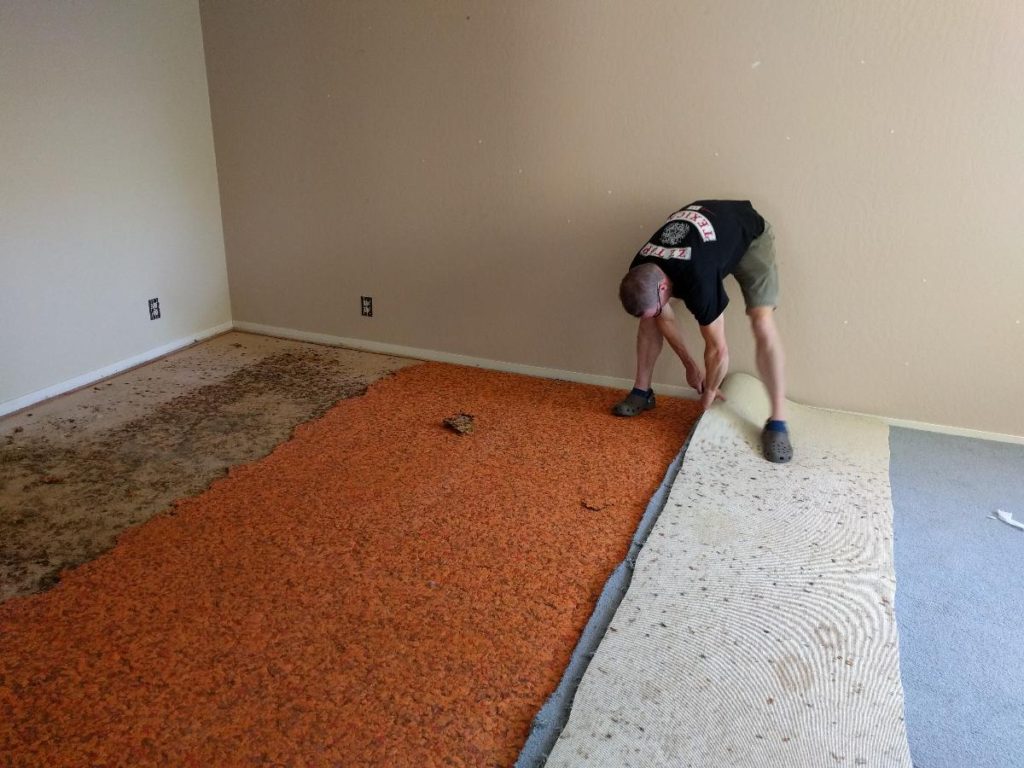
Step 1. Rip out old carpet
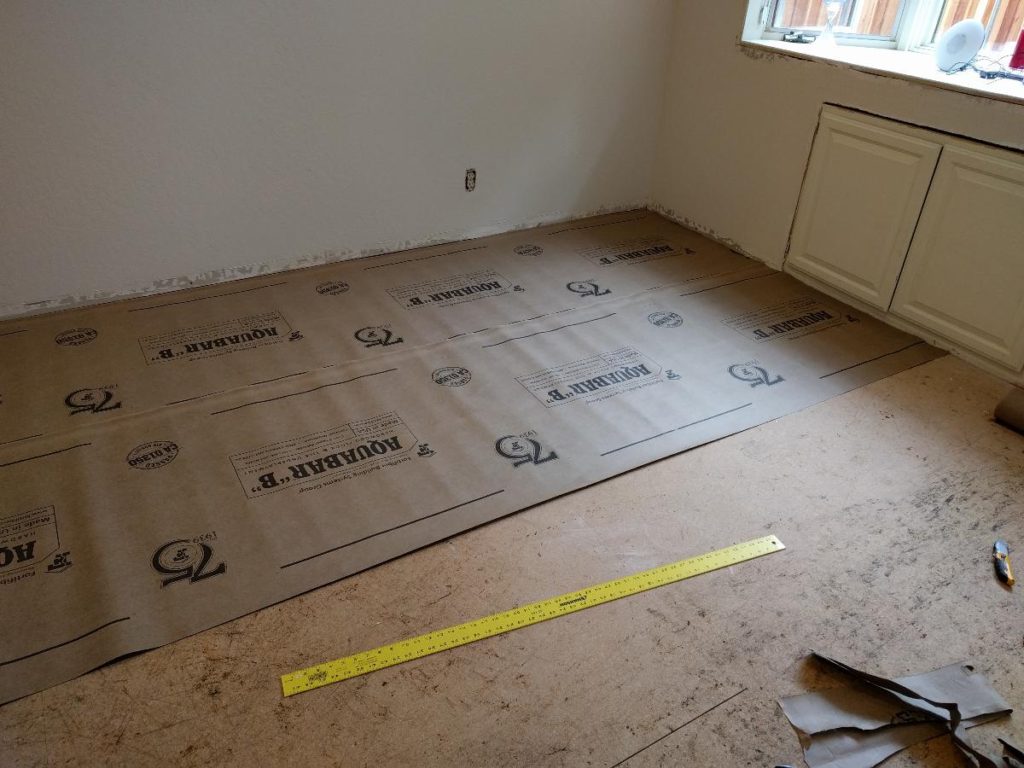
Step 2. Lay down moisture barrier

Step 3. Lay out a row
With 2 people, it worked out really well to have one person as the layout-runner and one person as the driller. The layout-runner chooses boards for an entire row, tapping them into place, and cutting the last board to length.
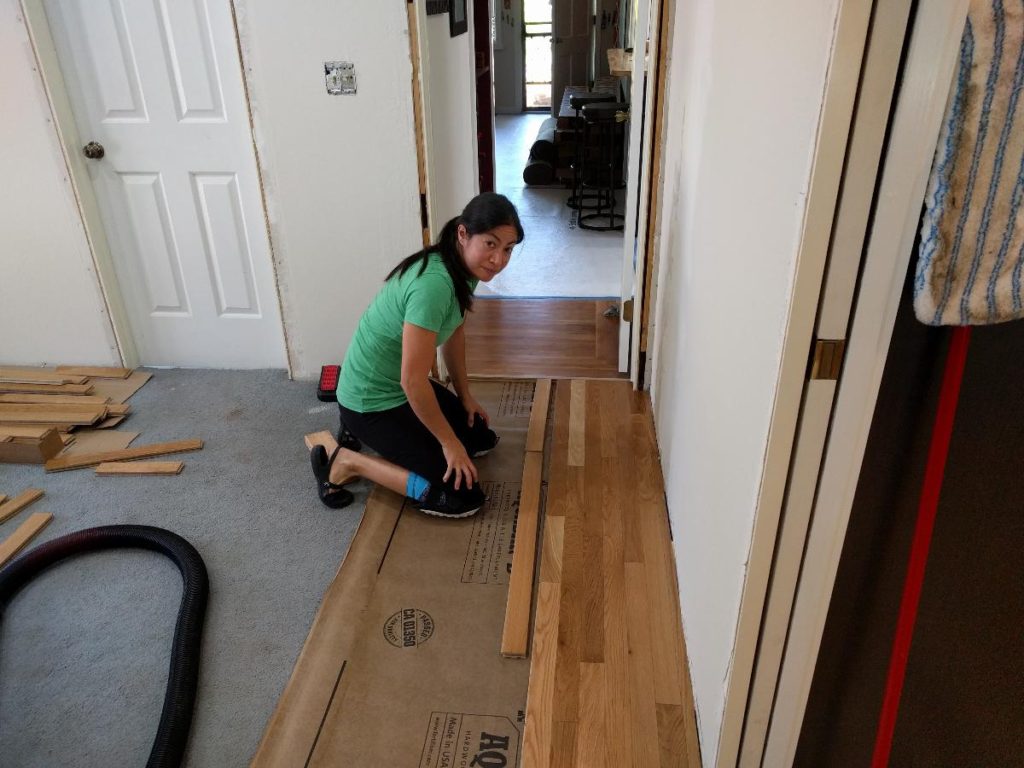
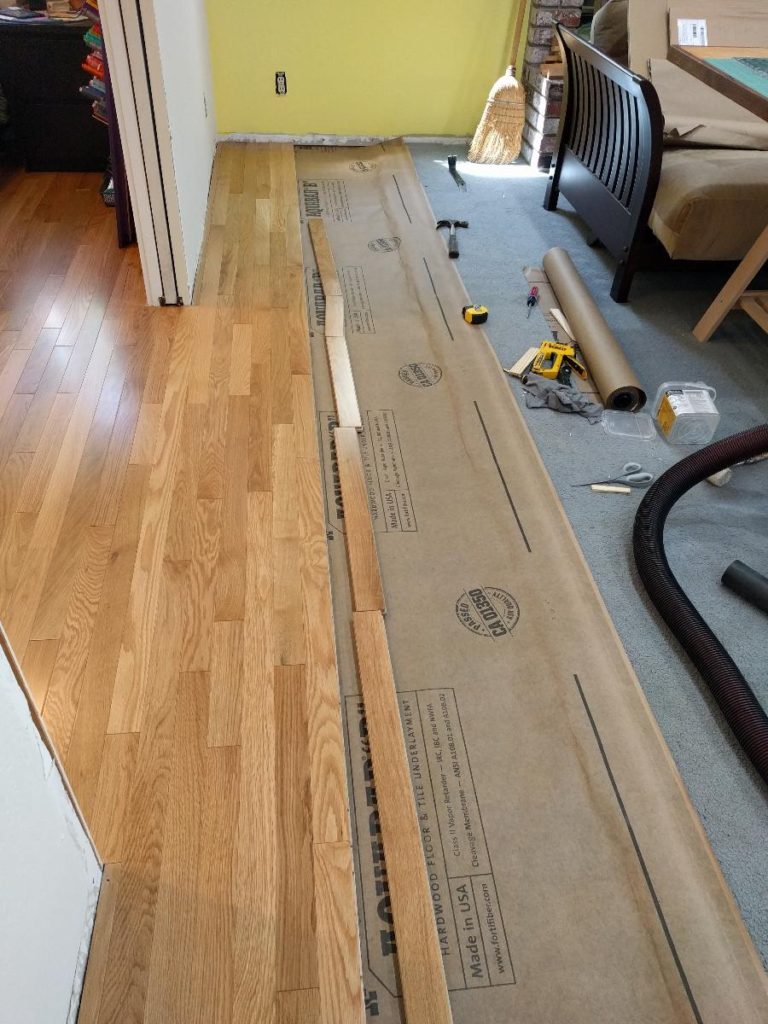
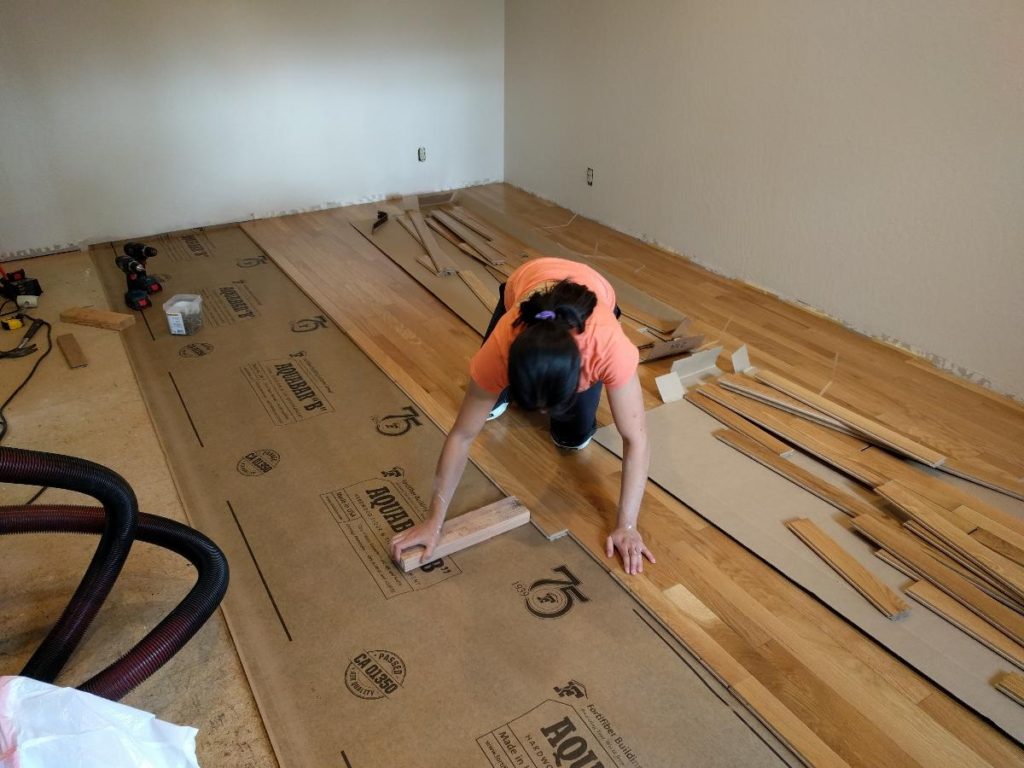
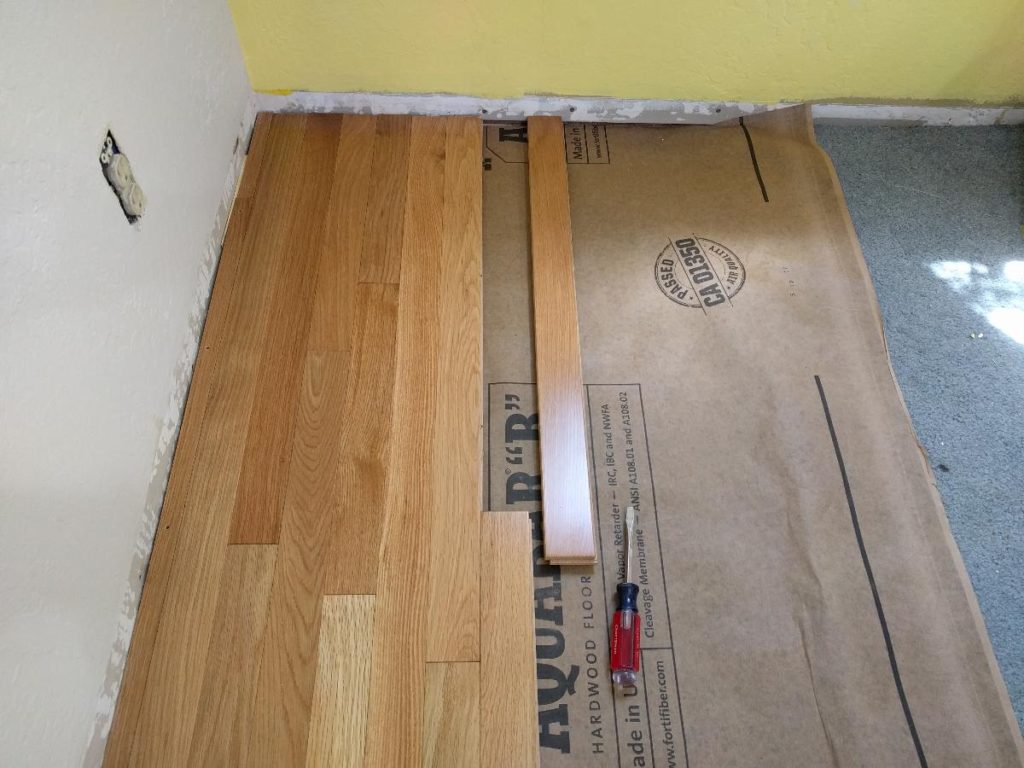
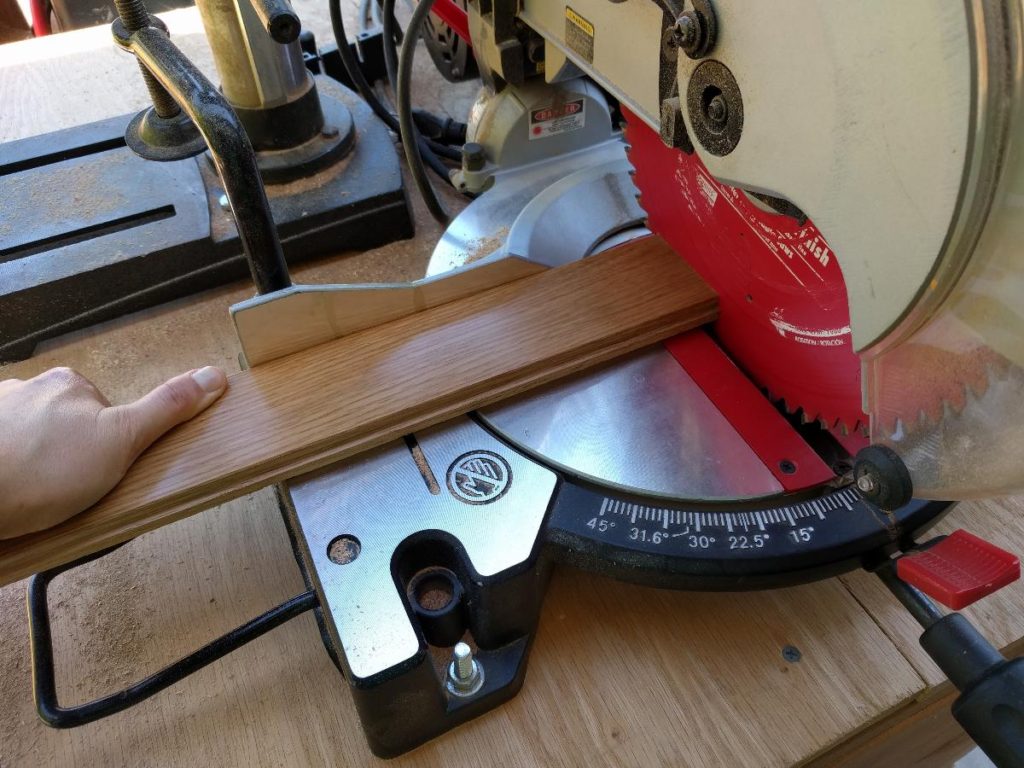
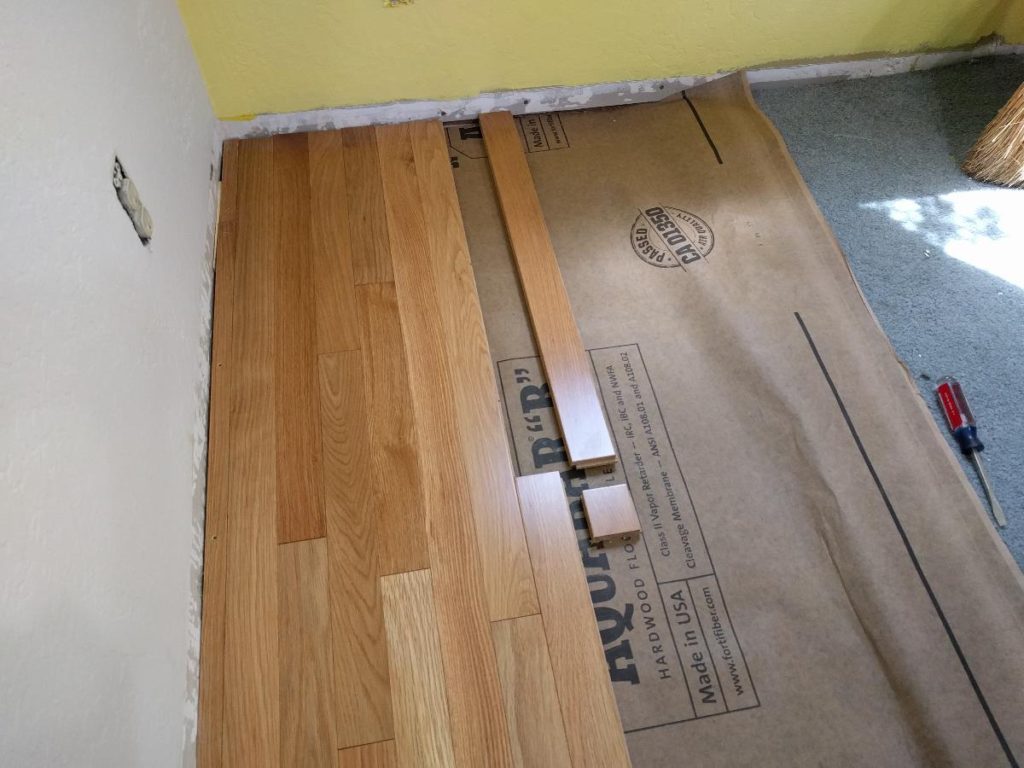
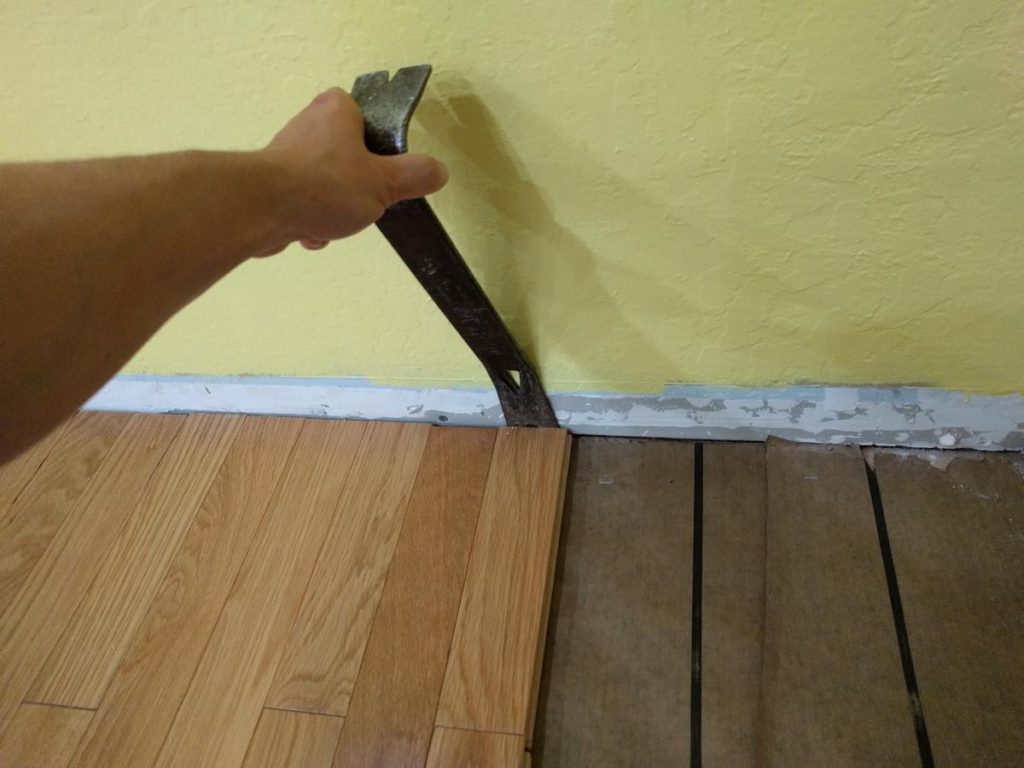
Step 4. Drill pilot holes and drill screws
Unfortunate person #2 gets to drill holes every 6-8″. We found we needed to drill pilot holes, or the screws would crack the tongue.
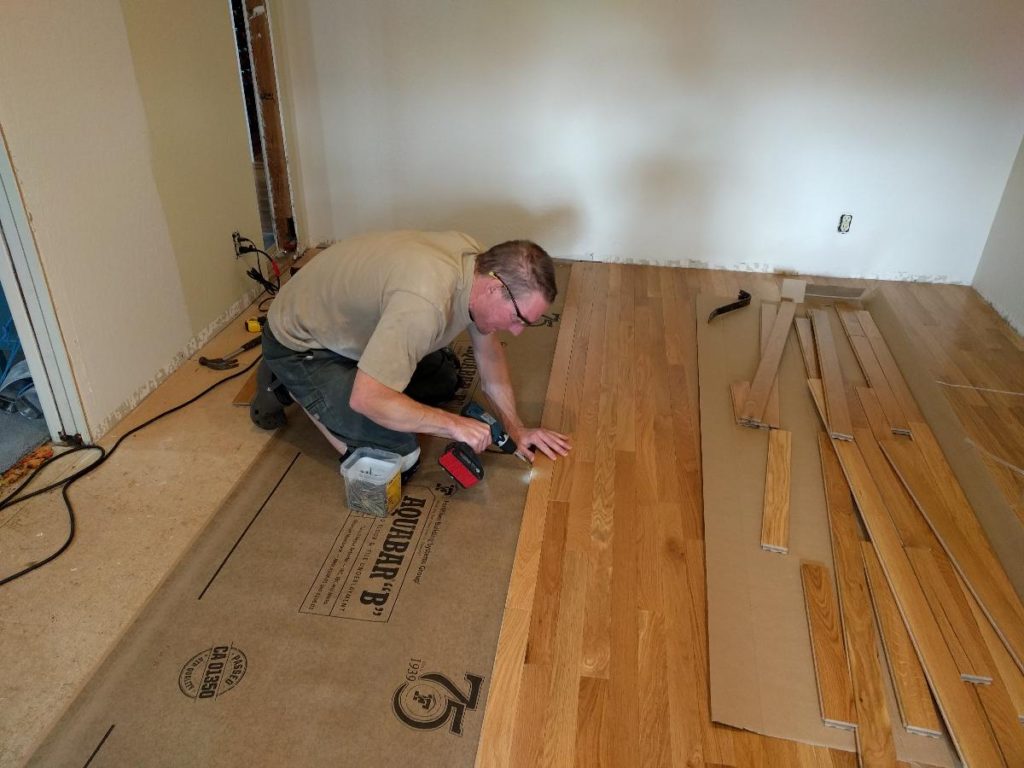
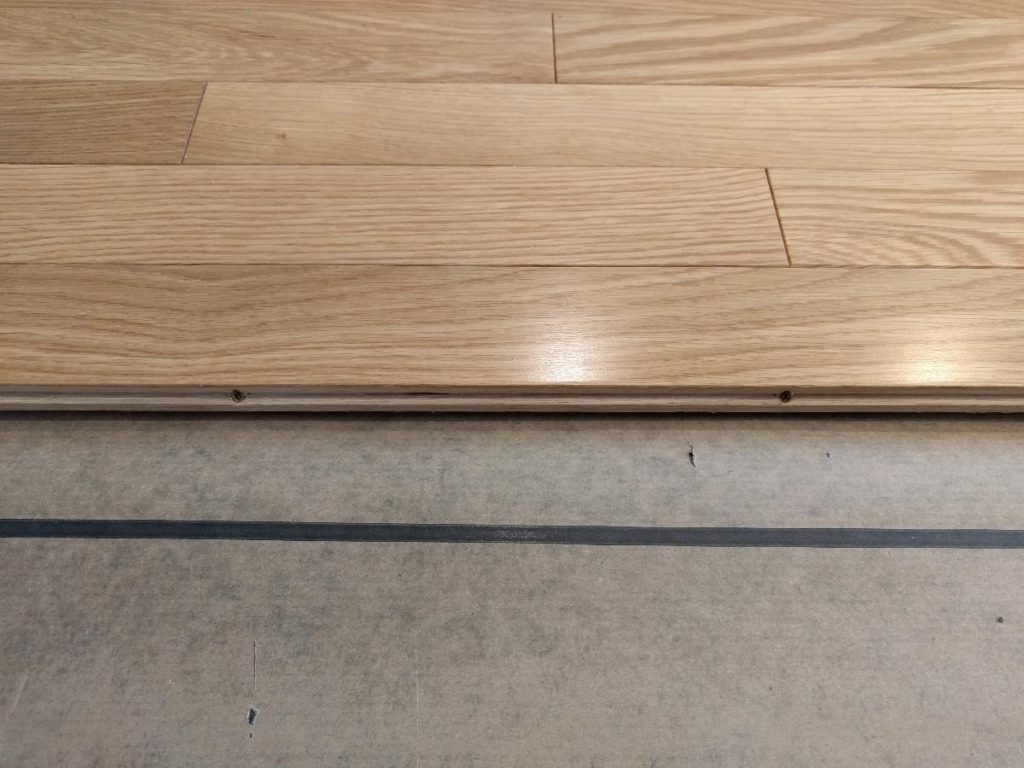
Step 5. Starting and ending a room
Starting a room is pretty easy–just put some door shims so you have ~0.25″ before the wall to allow for expansion. Ending is a bit more difficult.
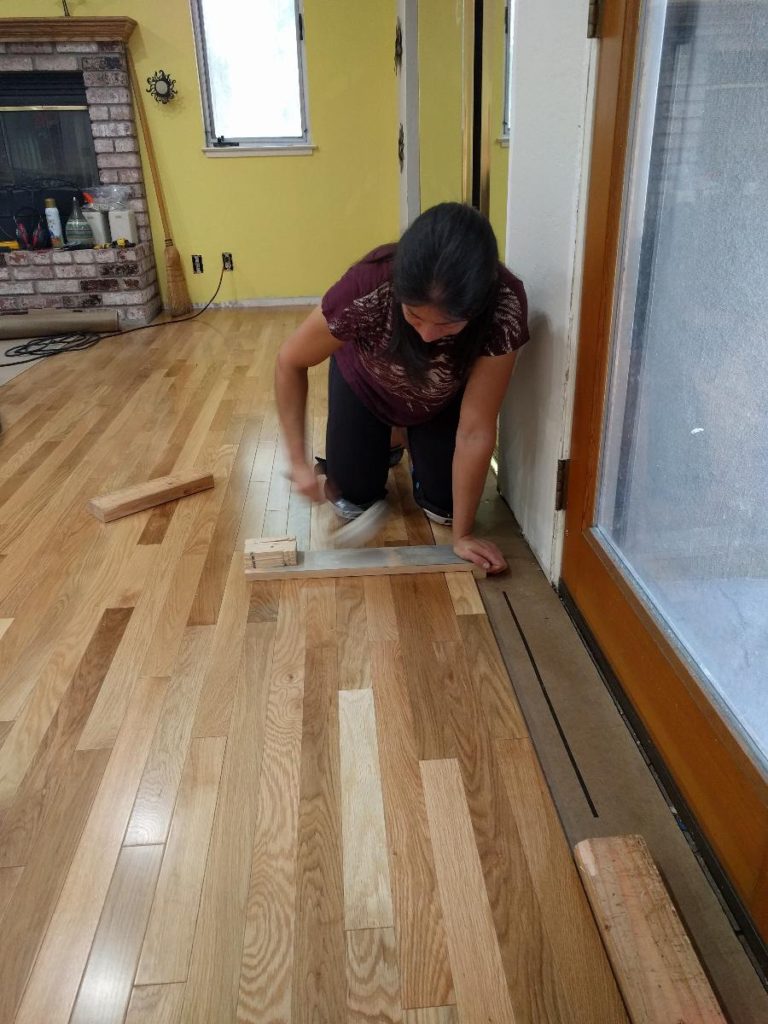
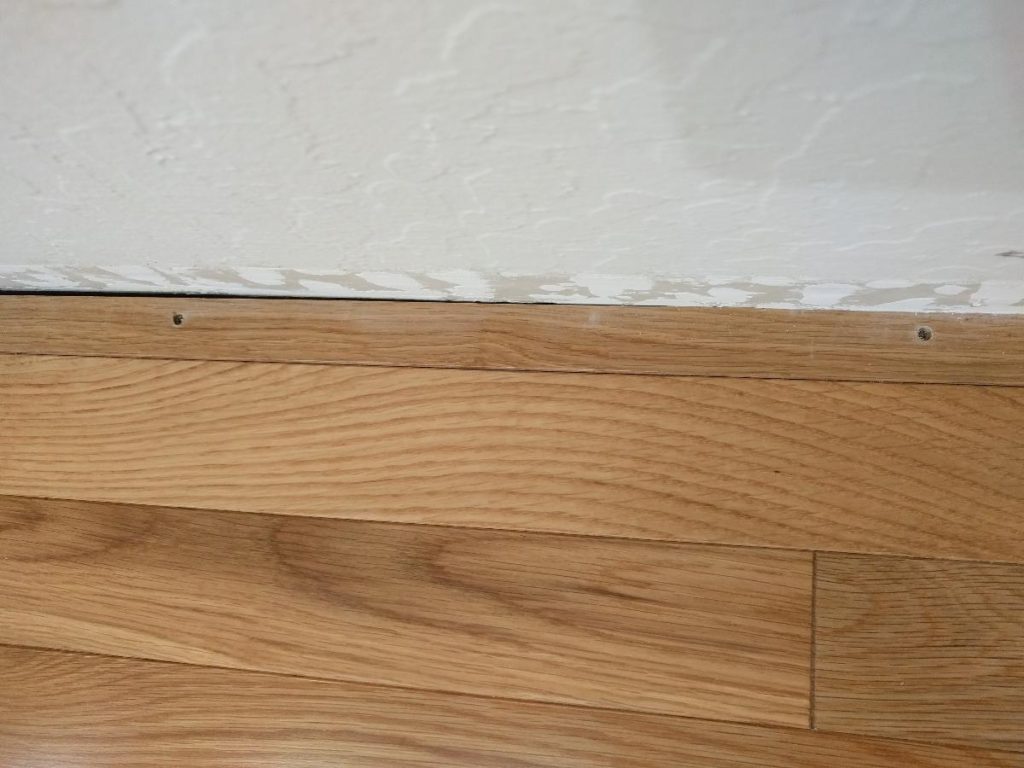
You’ll have to use a table saw to cut the last row to width, then top drill. The last tongue is still intact, and required just a little bit of jiggering to set in place. Fill holes with Plastic Wood.
Step 6. Finish!
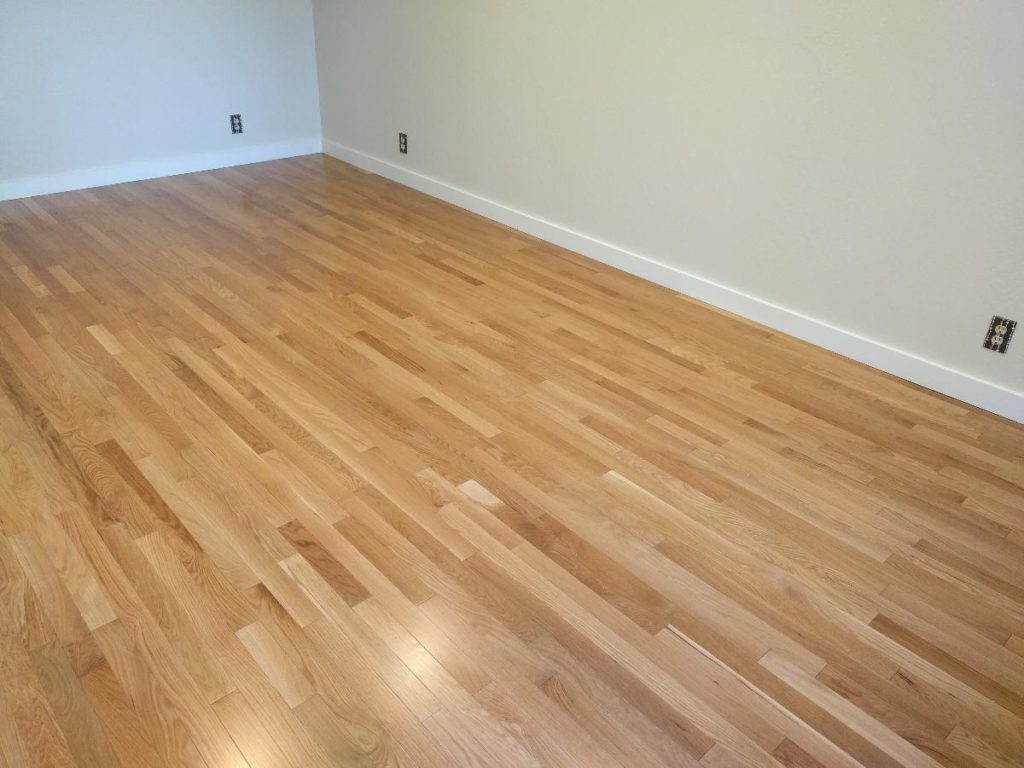
We found that we could handle only about 4hrs a day working on the floor–it’s a lot of being on your knees and drilling. The plus side of all that work is it’s bomb-proof. Good luck to the next person who wants to replace the floor!
There’s no squeaks whatsoever, and we don’t expect there to ever be. Whatever minor creaks were there initially are gone. We think any pressure on the floor actually helps screw them in tighter.
→ Explore more articles in DIY Home Projects
