Design
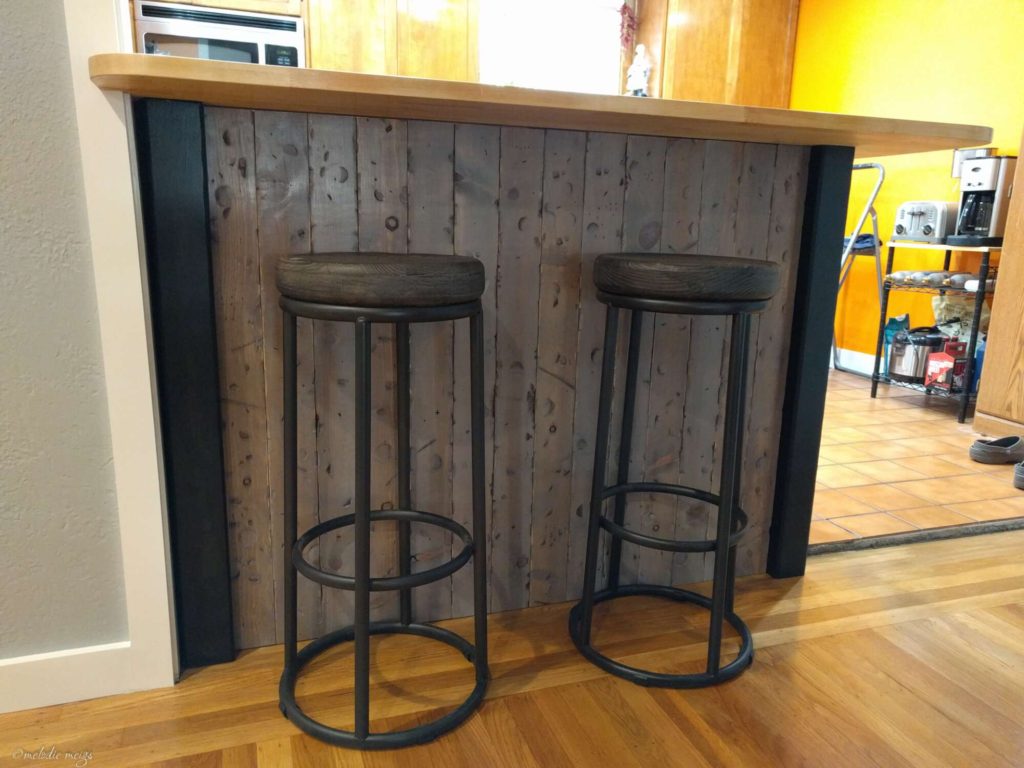
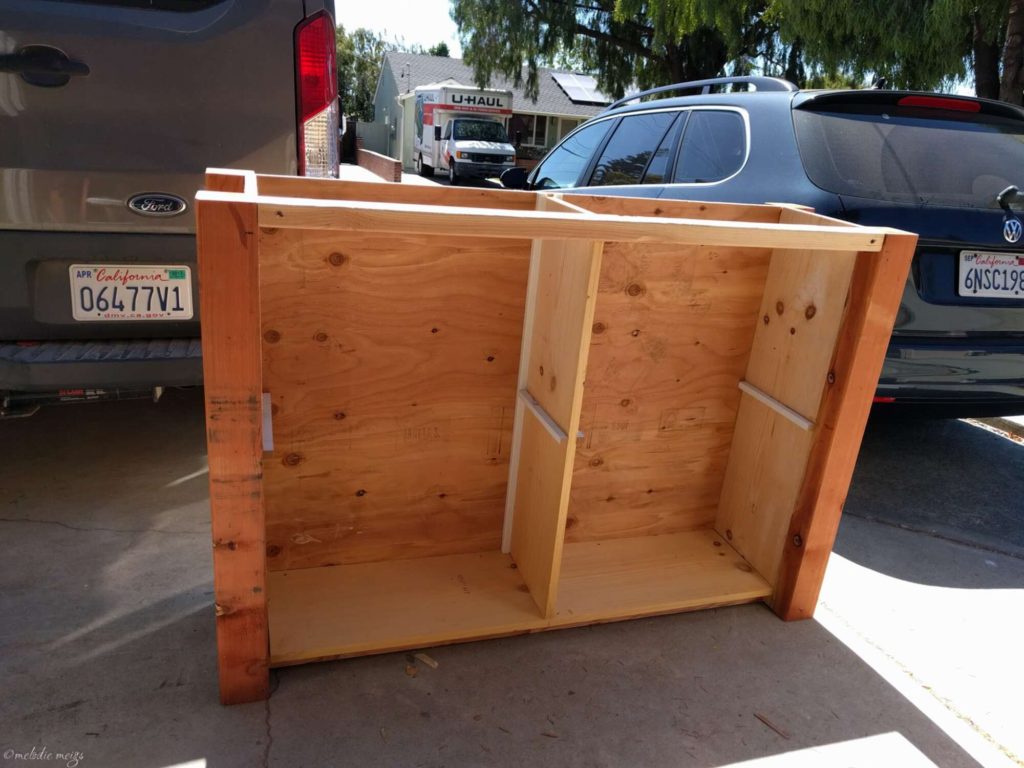
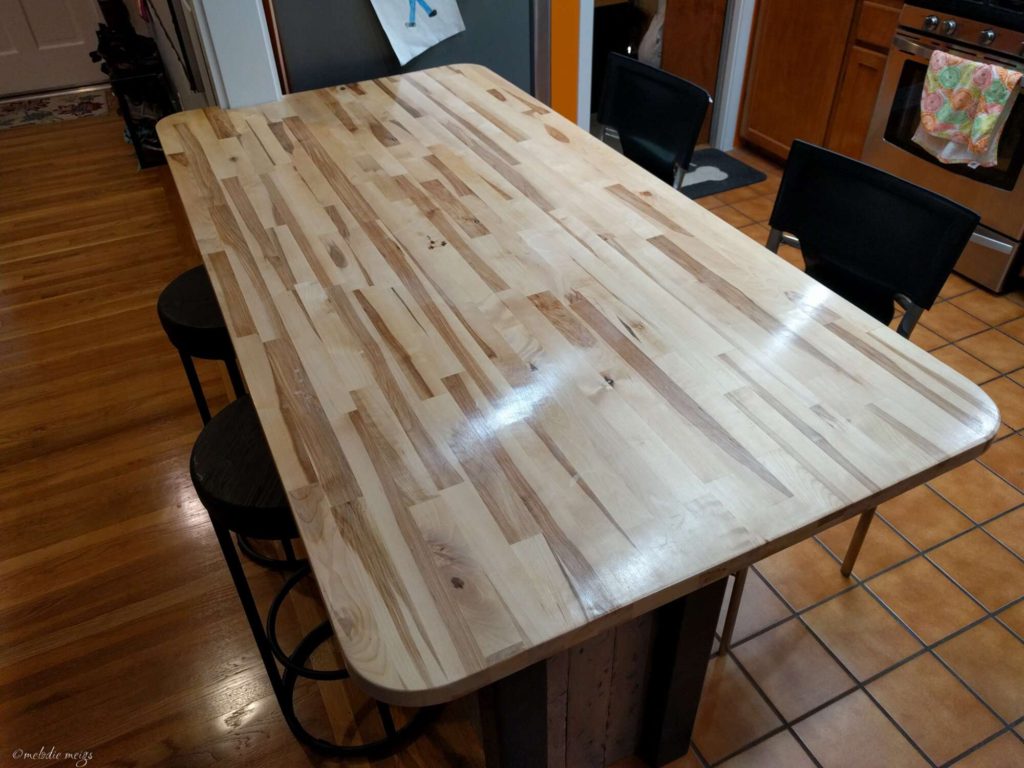
The island design is pretty simple: 4×4’s for the legs, a couple shelves on the kitchen side, distressed wood decorative panels, and the Hammarp solid beech countertop from Ikea. (It’s no longer called Hammarp, but they usually have a solid beech countertop.)
Cost
<$300 from Home Depot and Ikea
What you’ll need
The distressed wood panels took the most amount of time. I went through blog after blog about how to distress wood with various stains and spent hours testing. Here’s what I used:
- Pine boards
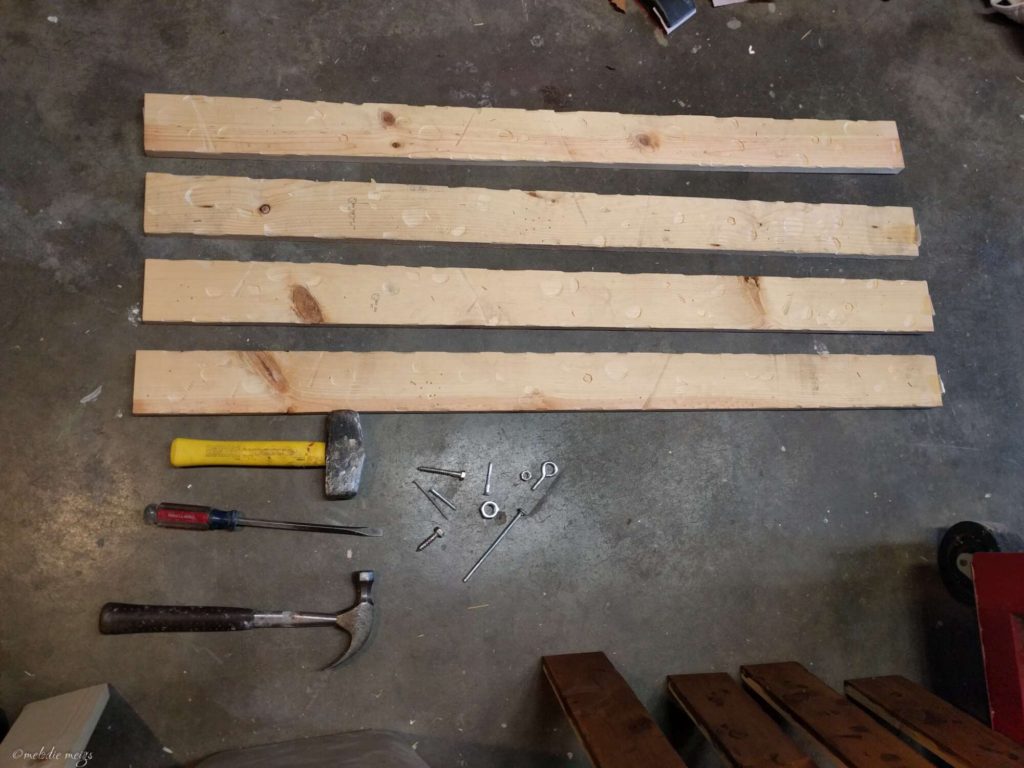
- Hammer, screws, nuts, and other objects to impale the wood
- 100 grit sandpaper
- An assortment of stains:
Hammer your heart out
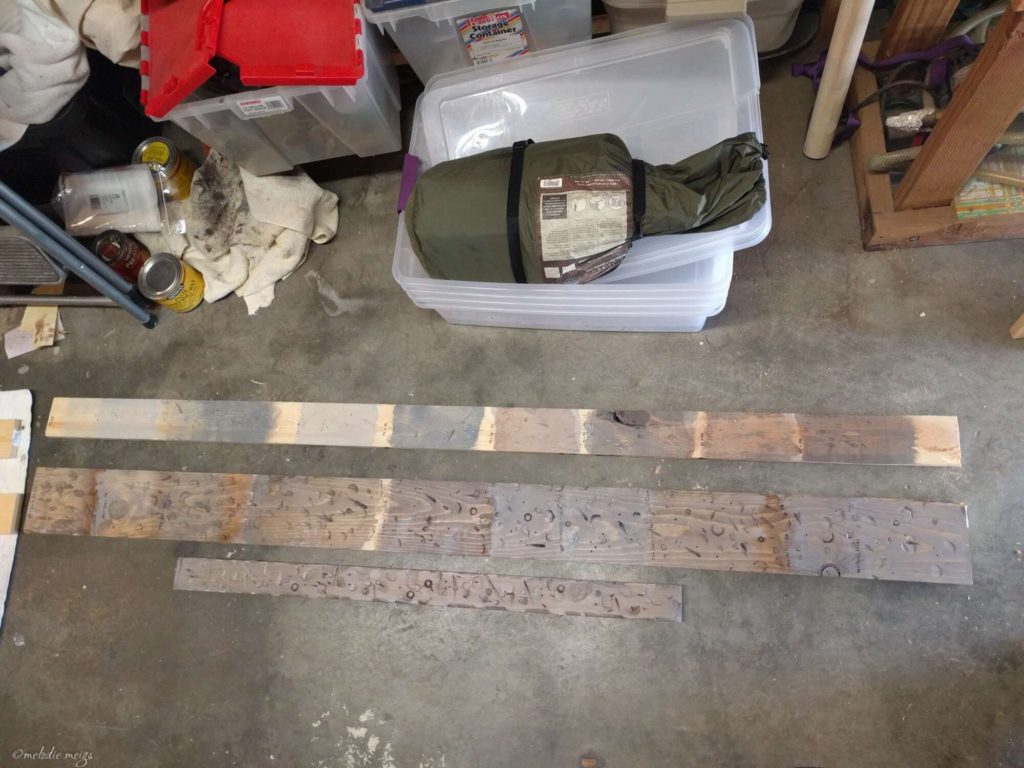
I went all out hammering the boards with whatever tools, screws, nuts, mallets, etc that we had. Pine was by far the easiest to dent since it’s so soft, and it happens to be the cheapest wood. I made sure to hammer the edges of the boards so that there’s texture where the boards meet. I sanded with 100grit sandpaper before starting the staining process
Base Stain
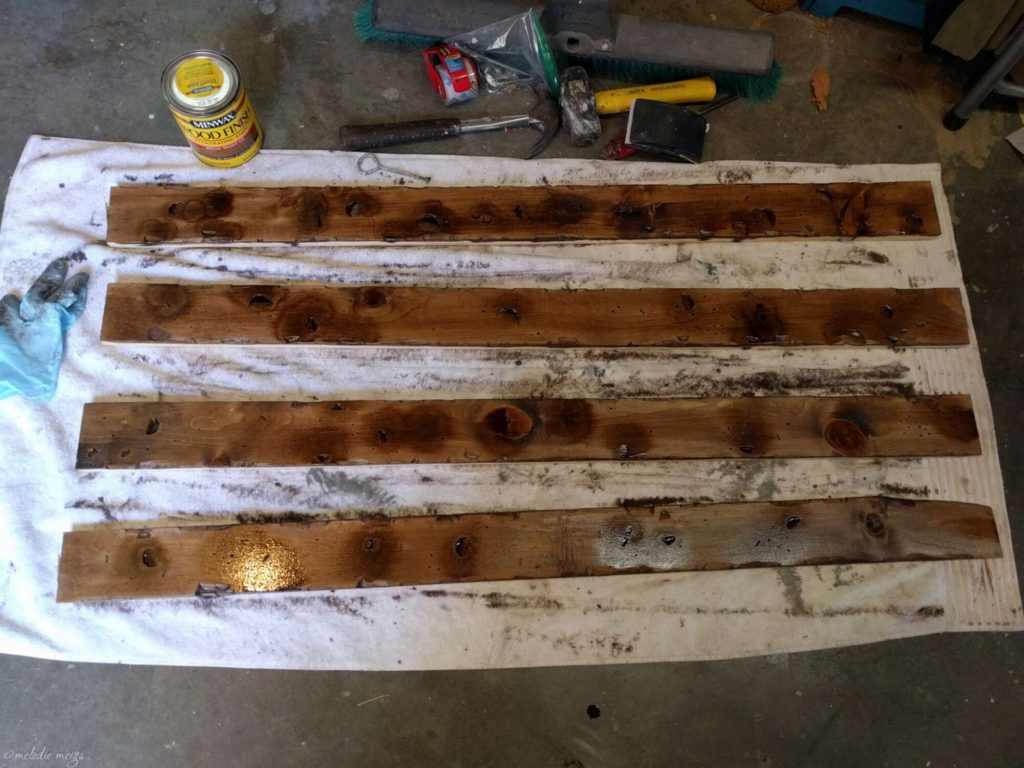
Most of the time for the whole project was spent testing various wood stains. I ended up using a walnut stain first to darken the pine, then a sunbleached stain on top. It took a lot of testing to figure out exactly what dark stains (dark walnut, jacobian, oak, etc.) and what bleach stains to use, and what amount of time to let those stains sit for. If you’re going about your own distressed wood, I highly suggest testing and testing, since there’s huge variations on how different wood takes stain.
Bleaching-effect stain
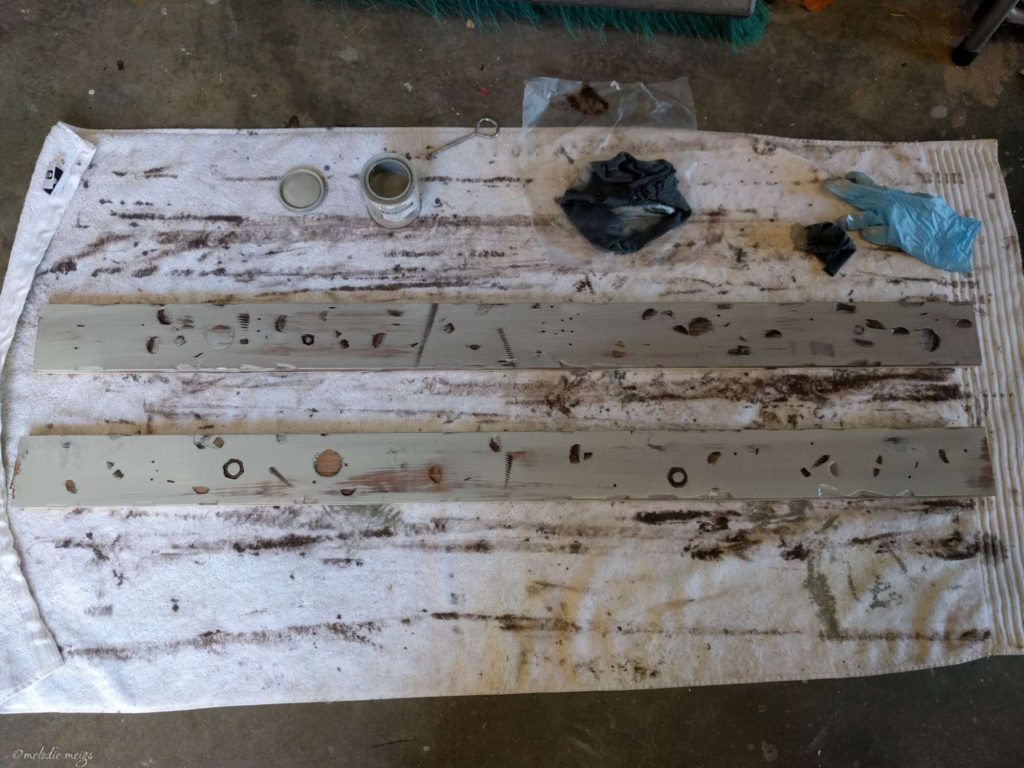
Next stain was Varathane Sunbleached. I tightly wrapped an old t-shirt around a sanding block to apply the stain–if I applied with just the t-shirt, the bleach went into the divets and was too consistent for what I wanted out of distressed wood. I let it sit for 3min and then immediately wiped off.
Sand bleaching-effect stain to reveal base stain
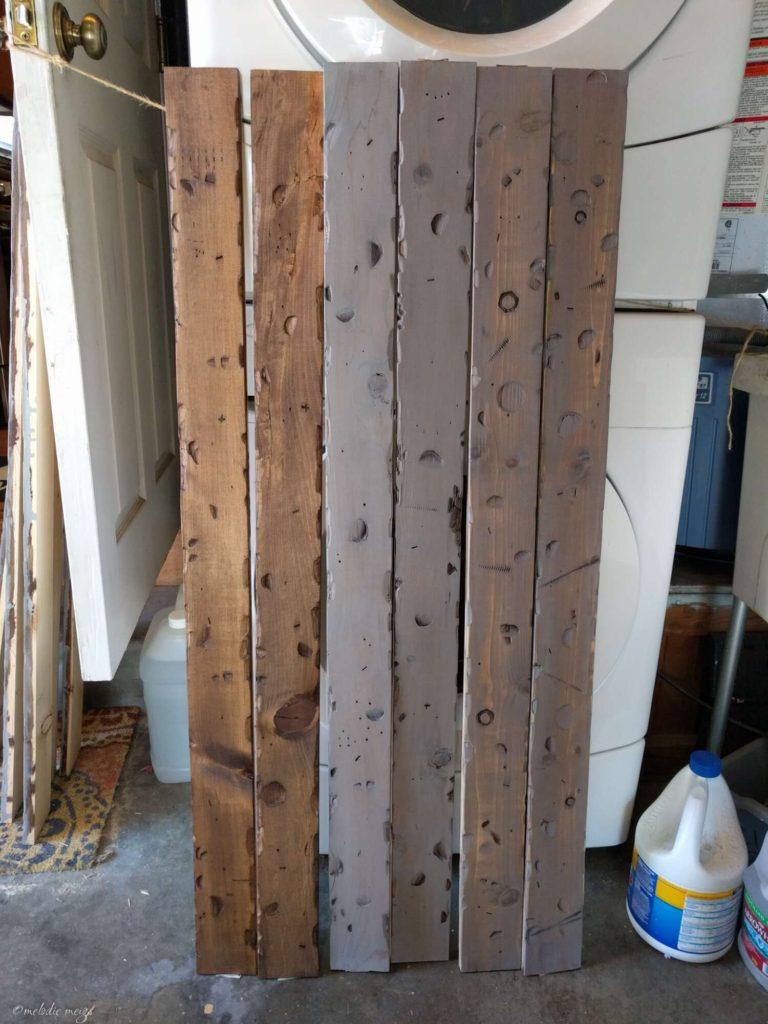
I let that sit overnight to dry, then lightly sanded with 100grit sandpaper to bring out some of the wood grain some more. I also hit the edges with sandpaper, which made the boards stand out from one another when placed next to each other.
From left to right: Special Walnut stain, Special Walnut + Sunbleached, then with the final sanding.
Finishing
2 coats of Minwax finishing paste.
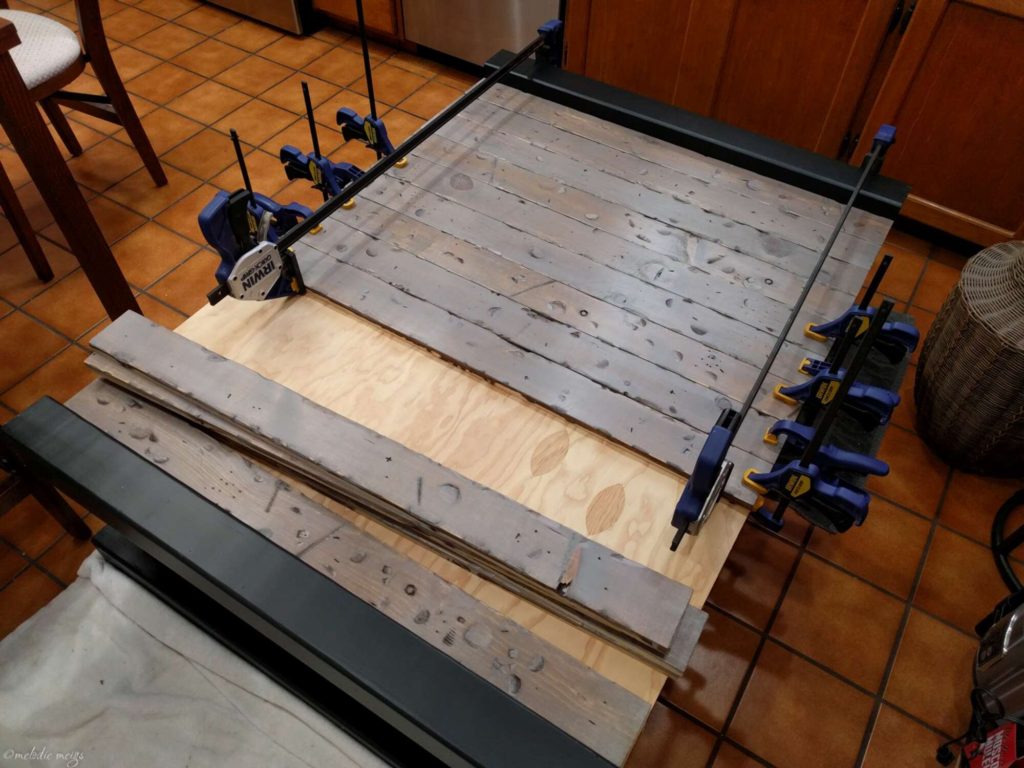
Finishing paste is for the side boards only. The top of the counter is finished with 3 coats of Varathane Crystal Clear Polyurethane.
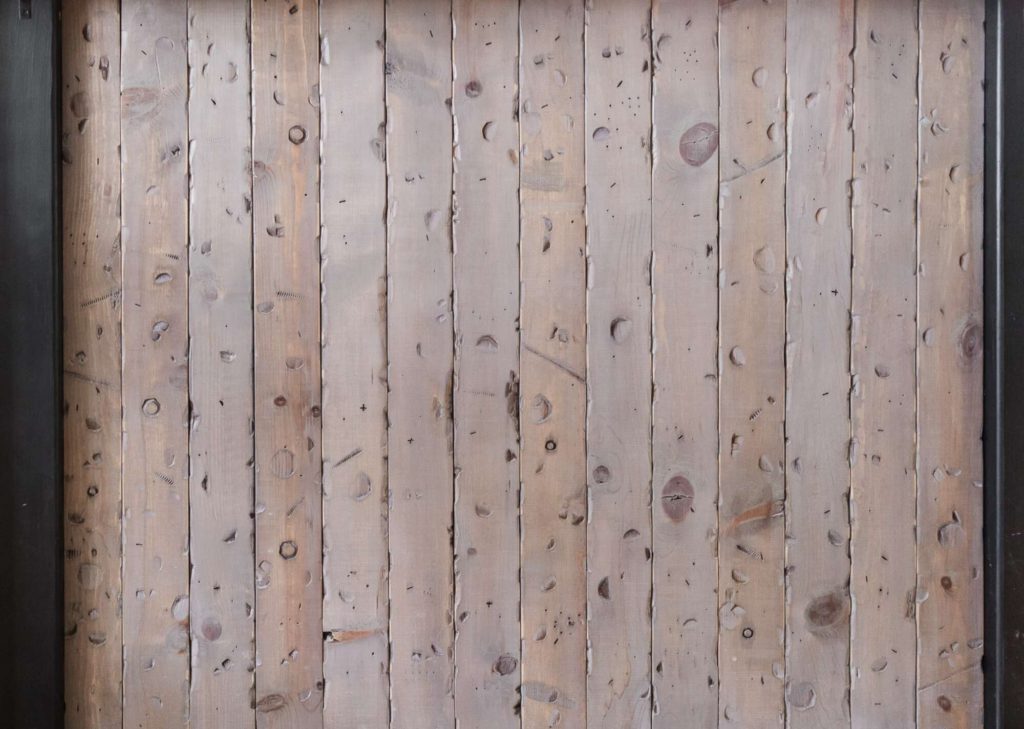
Summary
- Hammer the wood boards with screws, nuts, etc
- Sand with 100grit sandpaper
- Minwax prestain for 15min
- Minwax Special Walnut immediately after. Let sit for 15min, wipe off, and let dry overnight.
- Varathane Sunbleached for 3min, immediately wipe off, and let dry overnight.
- Lightly sand with 100grit to bring out some of the wood grain.
- Minwax finishing paste, 2 coats
→ Explore more articles in DIY Home Projects


